
One STL is a Save As. Ten sizes of a bracket, or every body of a printed assembly, is ten configuration switches and ten dialogs, and the tenth file usually gets the wrong name. PDMPublisher writes every STL in one batch, named by configuration and body, in SOLIDWORKS or as a PDM Professional task.
Quick answer
- Open the part, tick STL (stl) under File formats on the PDMPublisher tab, set a filename such as
(FileNameWithoutExtension)-(ConfigurationName), select Publish. - Tick Convert multiple configurations for every size, and Split bodies for one STL per body.
- Mesh resolution comes from SOLIDWORKS (Tools > Options > Export > STL); PDMPublisher uses whatever is set there.
In SOLIDWORKS: step by step
- Open the part (or an assembly if you want all its parts).
- On the PDMPublisher tab, select Settings > Publish.
- Set Export location and Filename, for example
(FileNameWithoutExtension)-(ConfigurationName). The.stlextension is added for you. - Under File formats, tick STL (stl). Tick 3MF too if your printer software prefers it.
- Tick Convert multiple configurations. Use the Configuration Filter to include
SIZE-*and exclude*Flat*so you never print a flat pattern. - Tick Split bodies for one file per body.
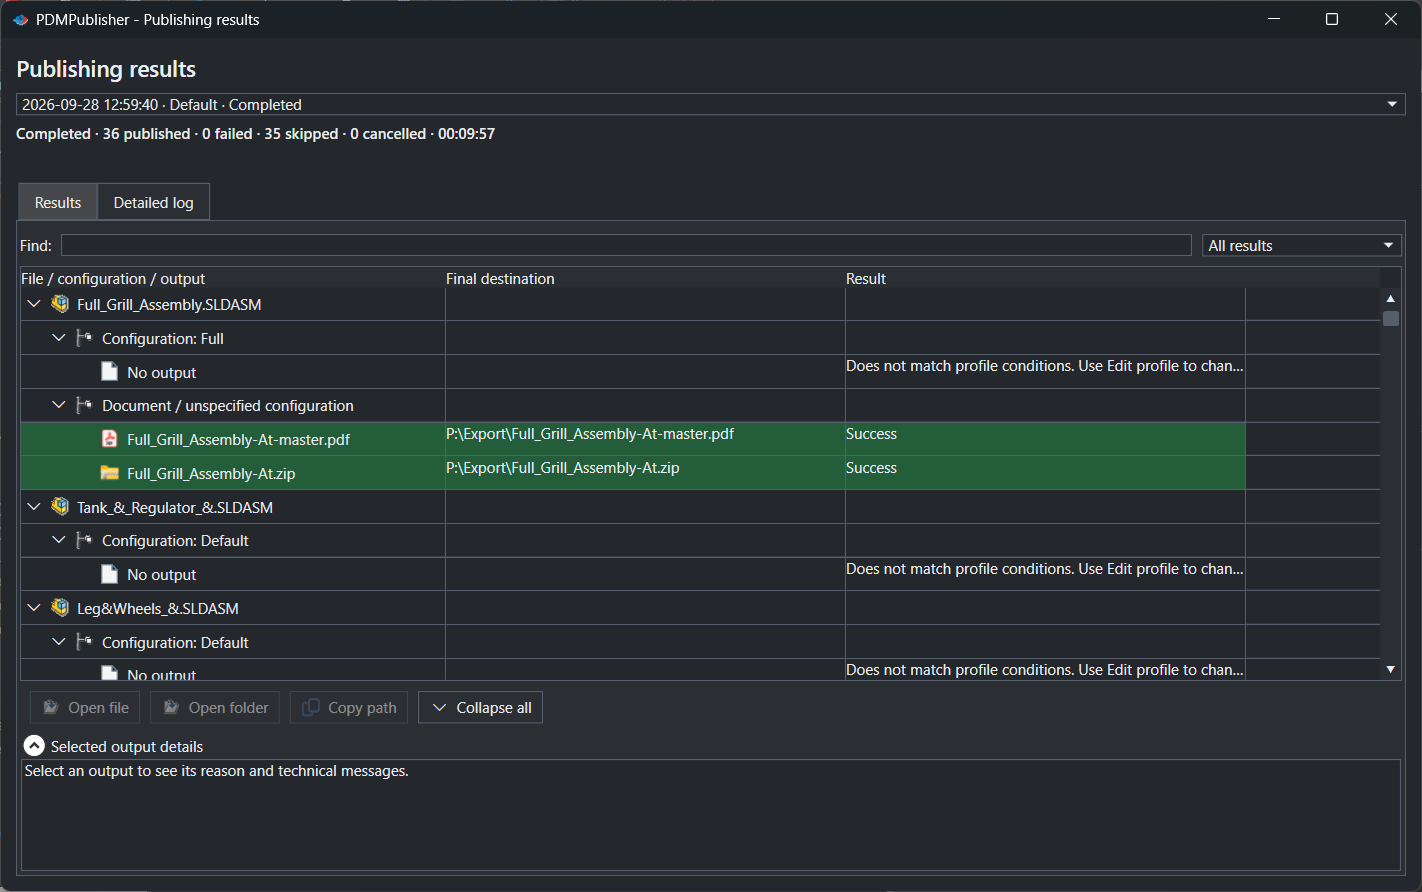
- Select PDMPublisher > Publish, confirm the review dialog, and check Publishing results.
Tip. STL needs Premium in the add-in; the free Community Edition does PDF, DXF and STEP. The PDM task includes every format.
As a PDM task: on every release
PDMPublisher for PDM Professional runs the same engine as a task, so the export happens when the file changes state, not when somebody remembers.
- In PDM Administration, right-click Tasks > New Task, choose PDMPublisher, name it and tick the task hosts.
- On the Options page set Export Location, for example
(VaultRootFolder)\Exports\STL(no trailing backslash), and the Filename. - Tick STL (stl) under File Formats.
- Enable Convert multiple configurations and Split bodies as needed, with
(ConfigurationName)in the filename. - For release workflows, enable Get latest revision only, then attach the task to a workflow transition.
Settings that matter
| Setting | What to put | Why |
|---|---|---|
| Filename | (FileNameWithoutExtension)-(ConfigurationName) | Sizes do not overwrite each other: Bracket-S.stl, Bracket-M.stl, Bracket-L.stl. |
| Configuration Filter | SIZE-* to include, *Flat* to exclude | Only the variants that should be printed. |
| Split bodies | On for multi-body parts | One STL per body, body name appended, so each prints separately. |
| STL resolution | Set in SOLIDWORKS, Tools > Options > Export > STL | Coarse, fine or a custom deviation; PDMPublisher does not override it. |
Naming examples
(FileNameWithoutExtension)-(ConfigurationName)givesBracket-S.stl,Bracket-M.stl,Bracket-L.stl.(FileNameWithoutExtension)-(Revision)givesBracket-B.stlfor released parts.(VaultRootFolder)\Print Queue\($ProjectNumber)in the task files STLs by project.
If something looks wrong
- Only the active configuration came out: Convert multiple configurations is off, or the filename has no
(ConfigurationName). - A flat pattern printed: exclude
*Flat*in the Configuration Filter. - The mesh is too coarse: change the STL resolution in SOLIDWORKS where the job runs, then publish again.
- STL is missing from the results: the add-in is running as Community Edition. Activate a Premium key or use the PDM task.
Keep going
Documentation
Frequently asked questions
How do I export all configurations of a SOLIDWORKS part to STL at once?
Tick STL under File formats, enable Convert multiple configurations and add (ConfigurationName) to the filename. One Publish, one STL per configuration.
Can I export each body of a multi-body part as a separate STL?
Yes. Tick Split bodies; you get one STL per body with the body name appended.
Where do I set STL resolution when using PDMPublisher?
In SOLIDWORKS itself, under Tools > Options > Export > STL. PDMPublisher applies SOLIDWORKS’ current export options.
Can a PDM task create STL files when a part is released?
Yes. A PDMPublisher task with stl ticked can run on a workflow transition or from the right-click menu. Use Get latest revision only to export the revised version.